
How to record vocals in Suno Studio: setup, takes and comping
My stack My fav 6 tools for AI music after testing 70+
-
 ElevenMusic · Music generation
 -
 Moises · Stem separation
 -
 Controlla · Voice swap & cloning
 -
 Cryo Mix · Mixing + mastering
 -
 Neural Frames · Music videos
 -
 ONCE · Distribution
Some links are affiliate links — I earn a commission at no cost to you. Every tool here is one I run myself and truly believe in. This stack is proven.
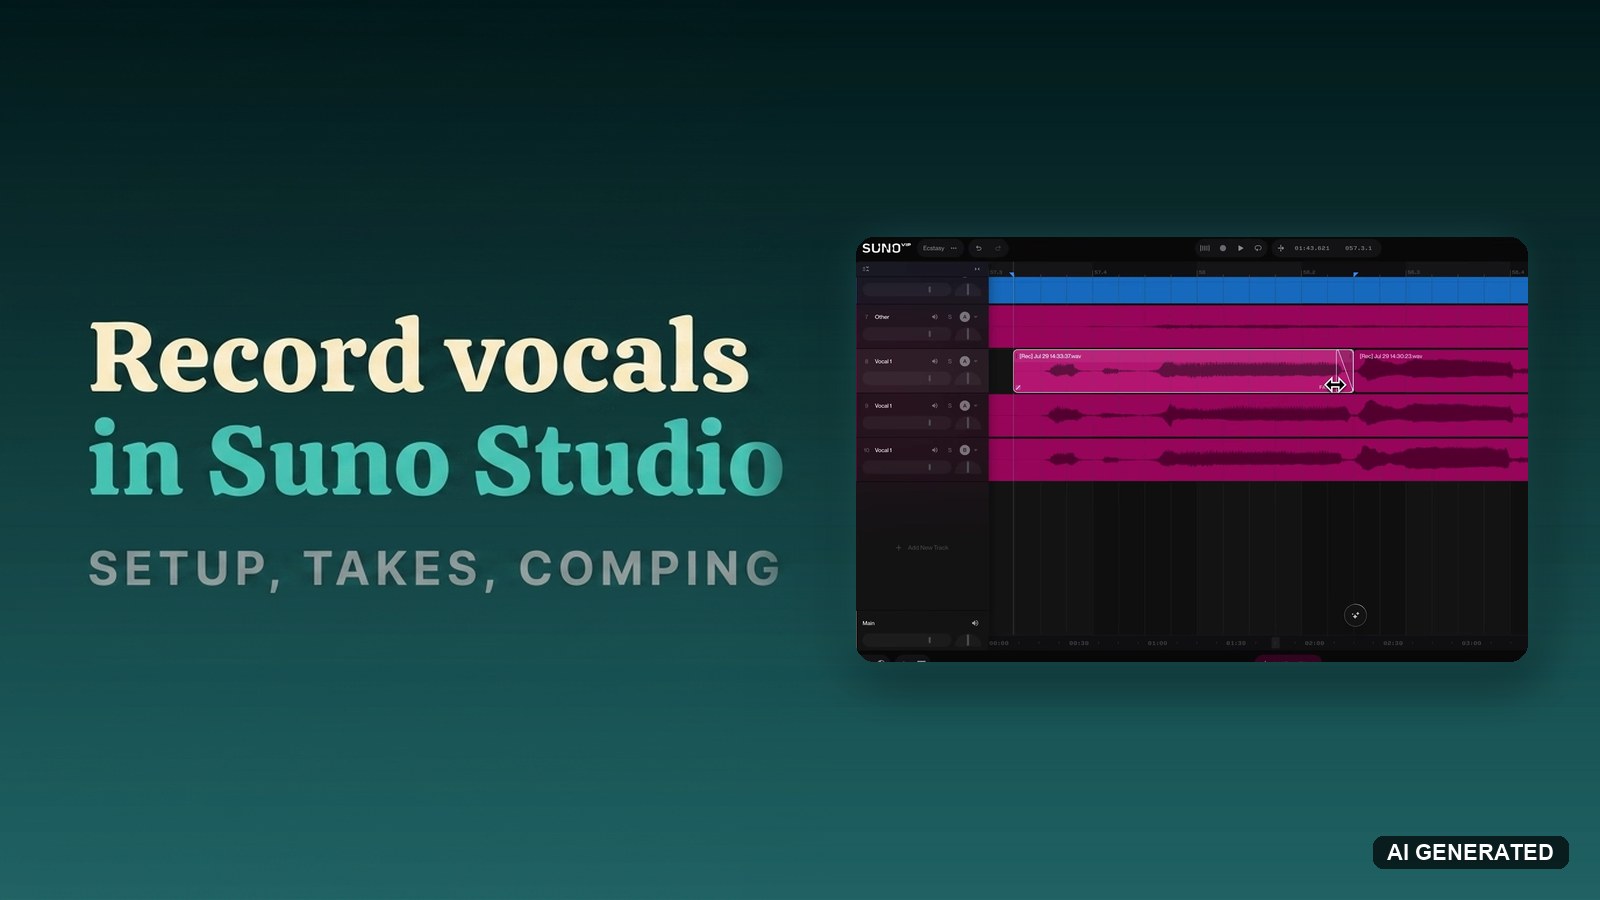
You have a melody in your head and a laptop mic. Between them sits every reason you never record: the room sounds bad, the timing drifts, and your voice is not the instrument you wish it was.
Suno Studio 2.0 removes most of those reasons. This guide walks through the full recording chain: input setup, latency calibration, count-in, takes, comping and fades, plus the AI move at the end where a rough take becomes a finished part.
What you need before you record in Suno Studio
The equipment bar is low:
- A Suno Premier subscription ($24 a month, annual). Studio is Premier-only, covered in my Suno Studio beginner’s guide.
- Any microphone. Built-in works for sketches. A USB mic or interface sounds cleaner.
- Wired headphones. Wireless models add their own delay, and speakers leak the backing track into the mic.
- Chrome. Suno recommends it for Studio across the board.
Why record into Suno Studio instead of a normal DAW?
Because in Studio, the recording is raw material, and the model does the finishing. Audrey, who runs Suno’s recording walkthrough, states the reframe better than any reviewer:
You don't need to be a great singer or play an instrument at a professional level. You can sing out of key, you can tap on your desk, record it into Studio, and prompt Suno to transform it into something different.
She demonstrates it by turning her own voice into a violin. A conventional DAW captures your performance exactly as good as it was. Studio captures the idea, and the performance is negotiable afterwards. Her walkthrough is 6 minutes:
How to record vocals in Suno Studio, step by step
Eight steps from silent project to comped vocal.
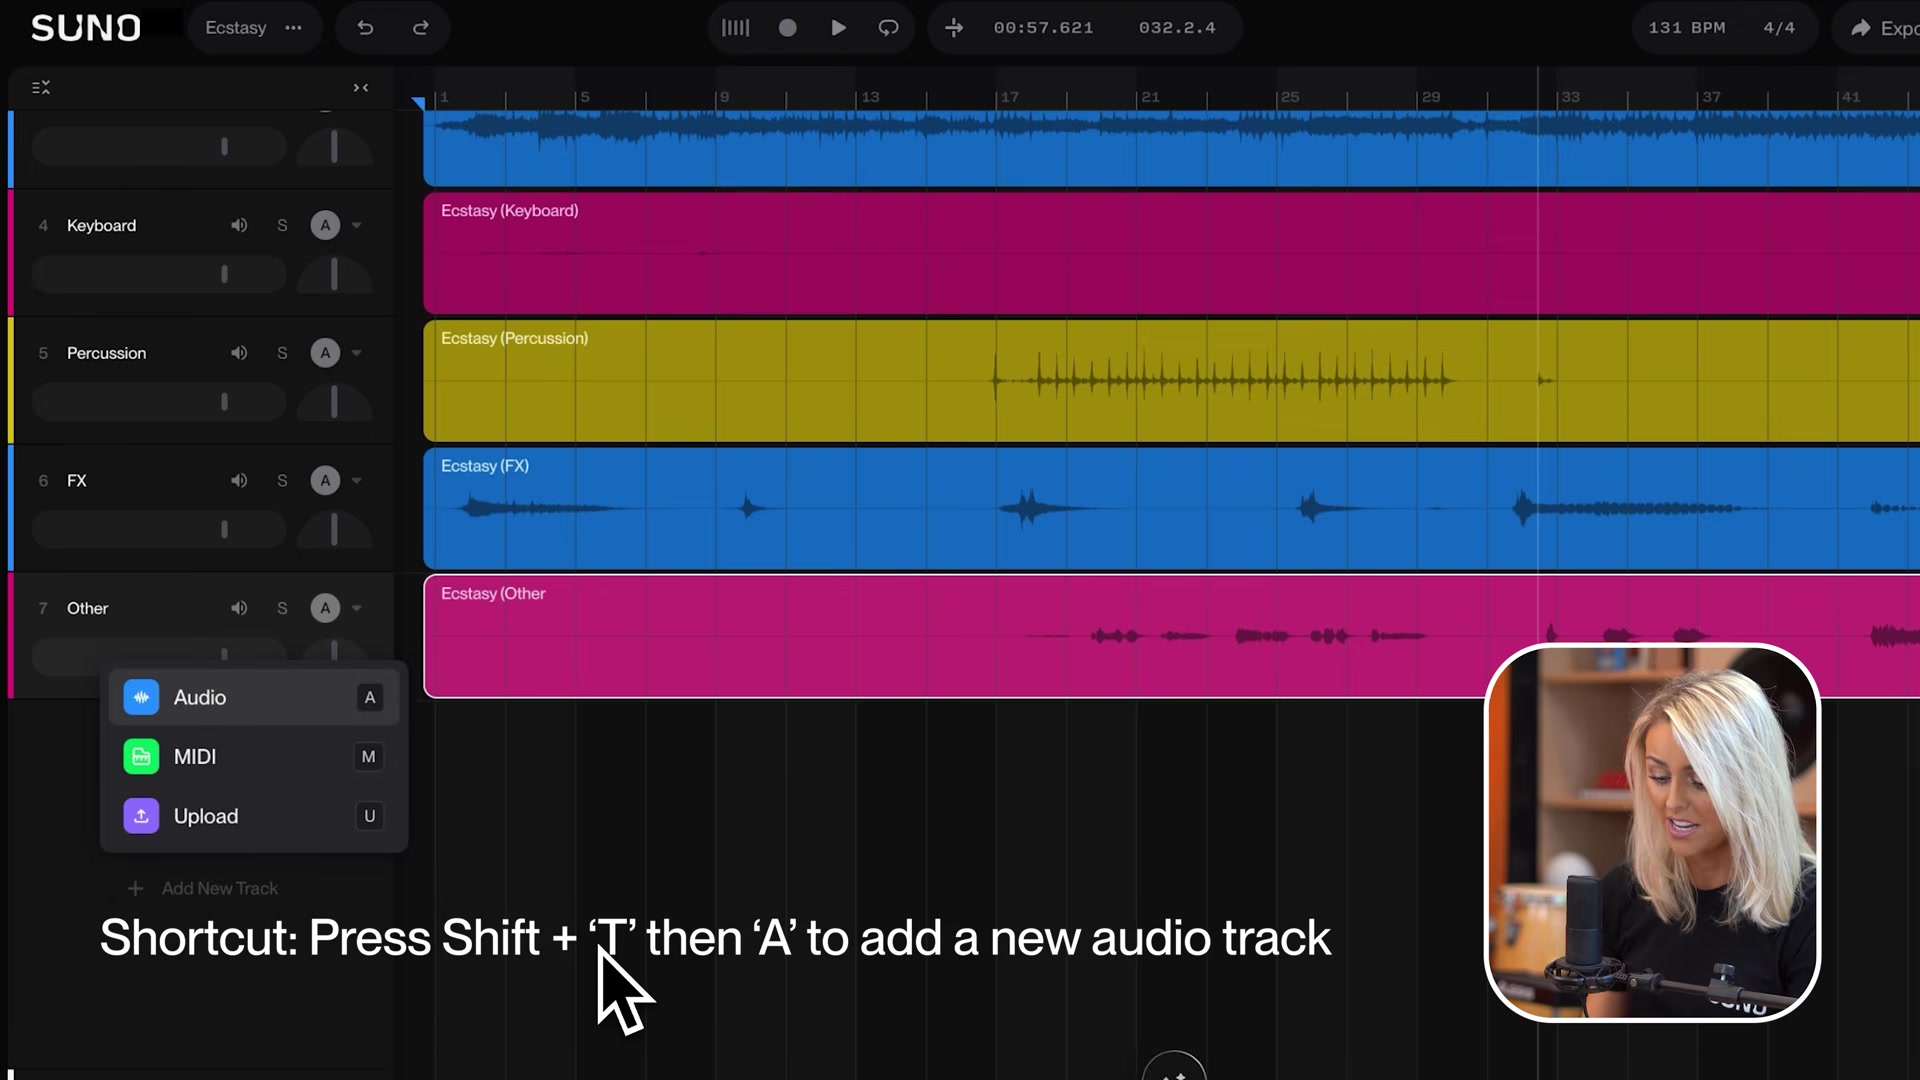
Step 1: Add an audio track and name it
- Press Shift+T, then A. An audio track appears.
- Double-click the name and label it (“Lead vocal”, “Harmony”). Recorded takes get timestamped file names, so named tracks keep the session readable.
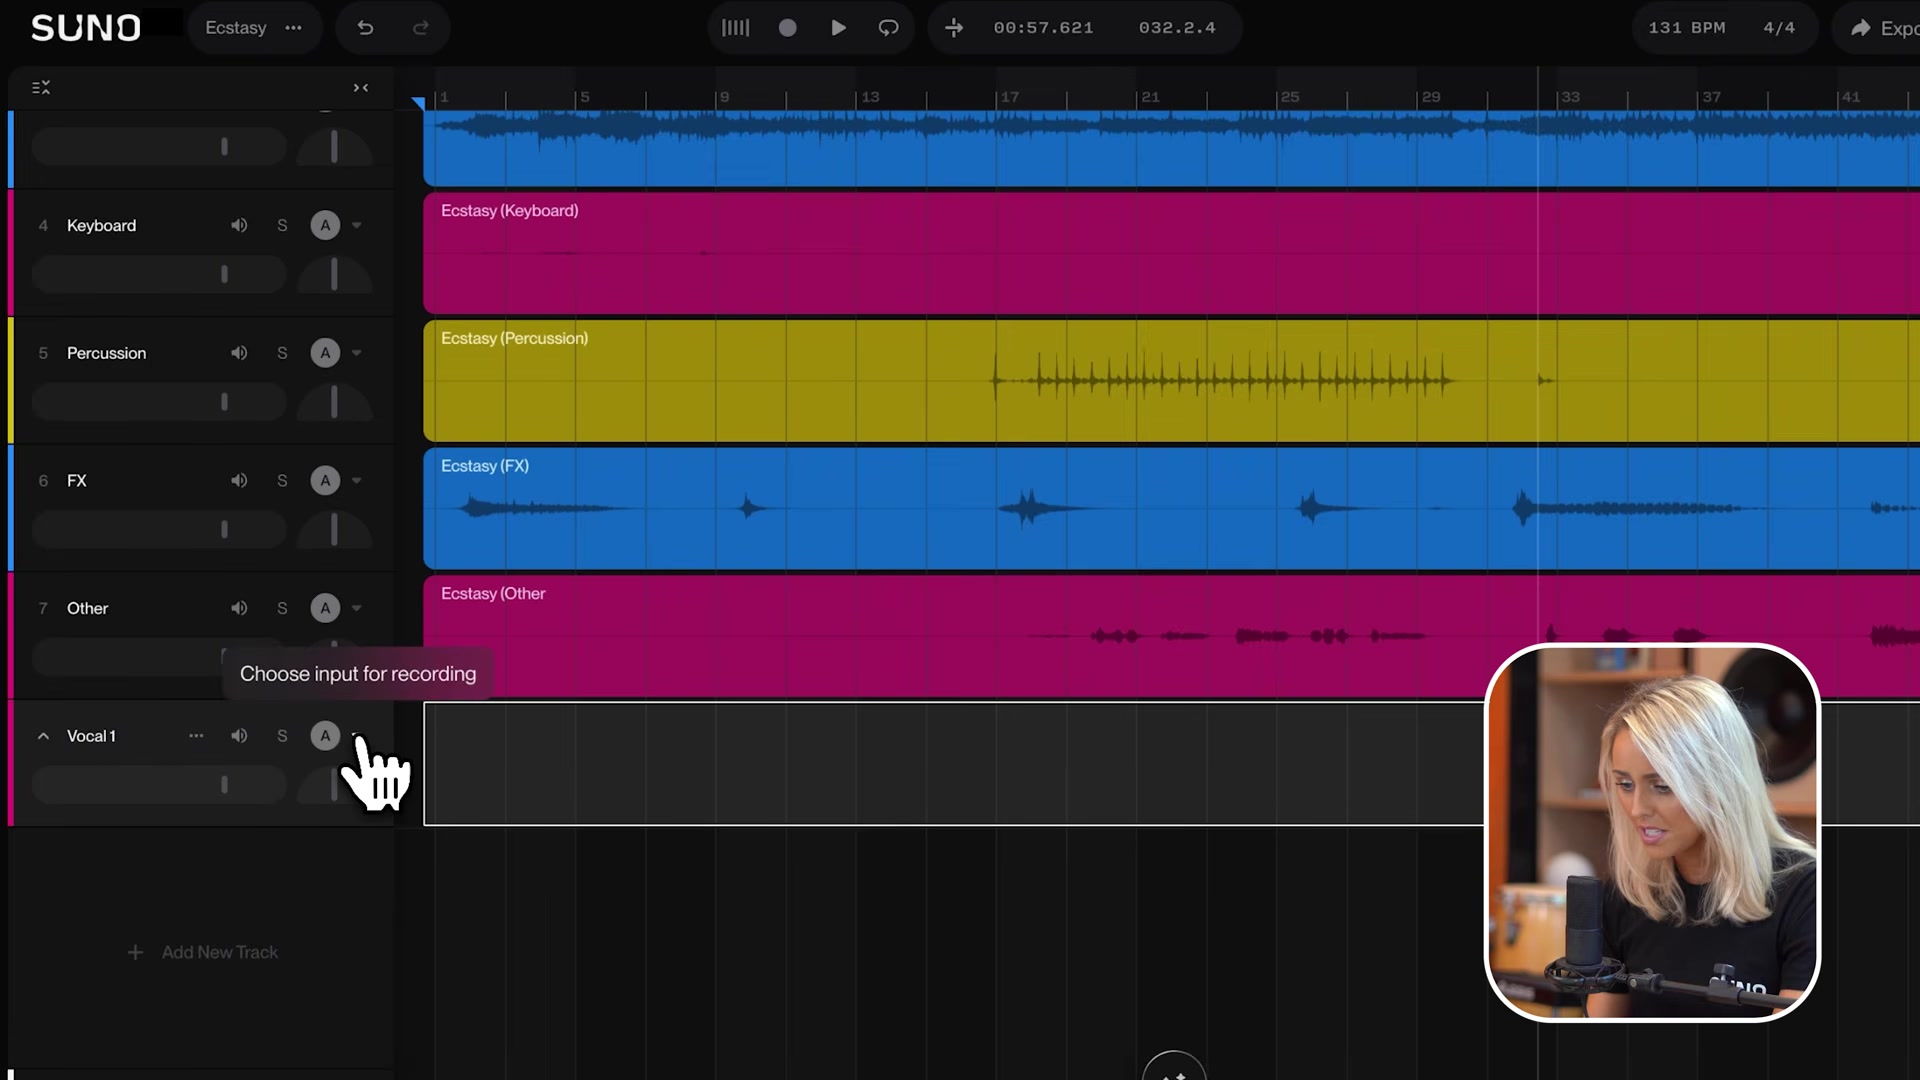
Step 2: Set your input source and check the level
- Pick your input on the track: built-in mic, USB mic or interface channel.
- Sing your loudest line and watch the meter. Peaks should stay out of the red.
- Too hot means clipping, and a clipped take is unfixable. Turn the gain down at the source.
Step 3: Calibrate latency
Every setup adds a delay between the sound and its arrival in the browser. Skip this step, and each take sits early against the grid.
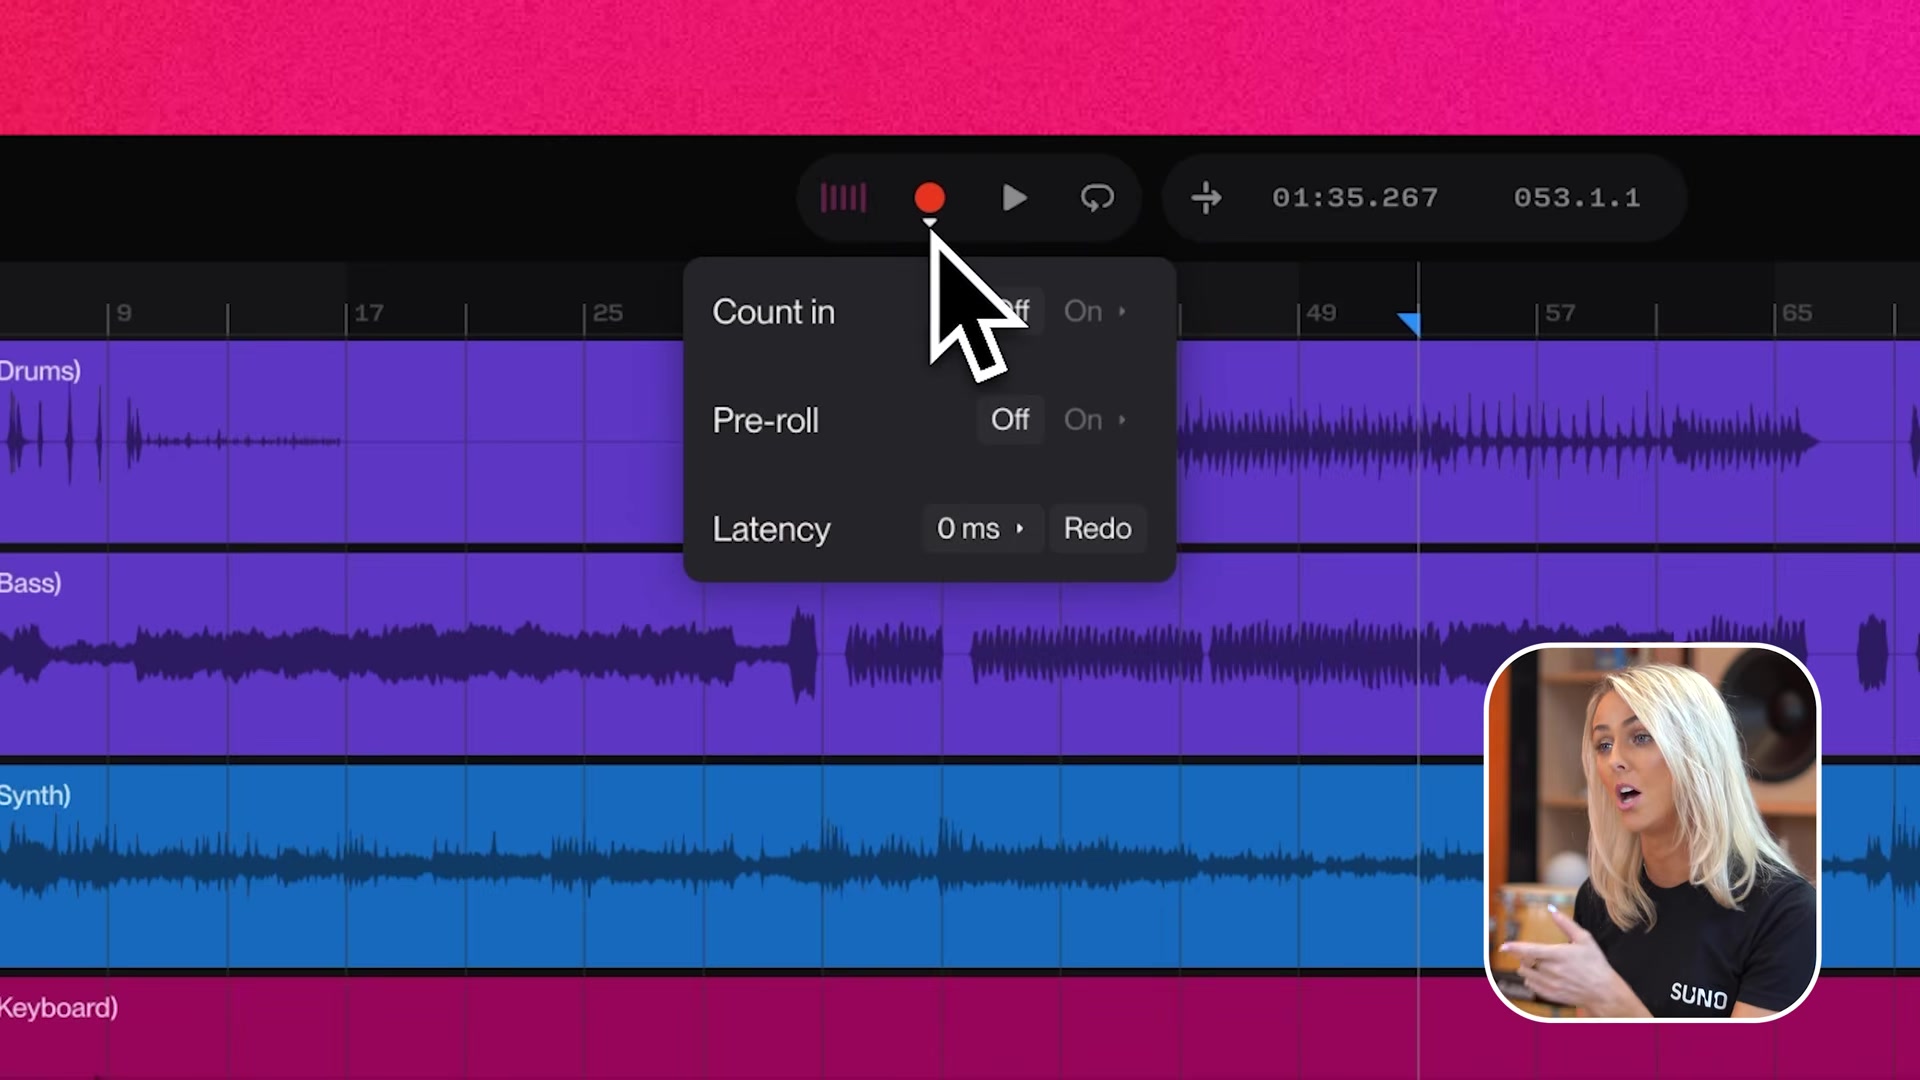
- Click the dropdown under the record button.
- Click calibrate. Studio plays a series of clicks and measures the round trip.
- Henry measured 55 ms on his setup in the Getting Started video. Yours will differ. The number matters less than letting Studio measure it.
Step 4: Turn on the metronome and set a count-in
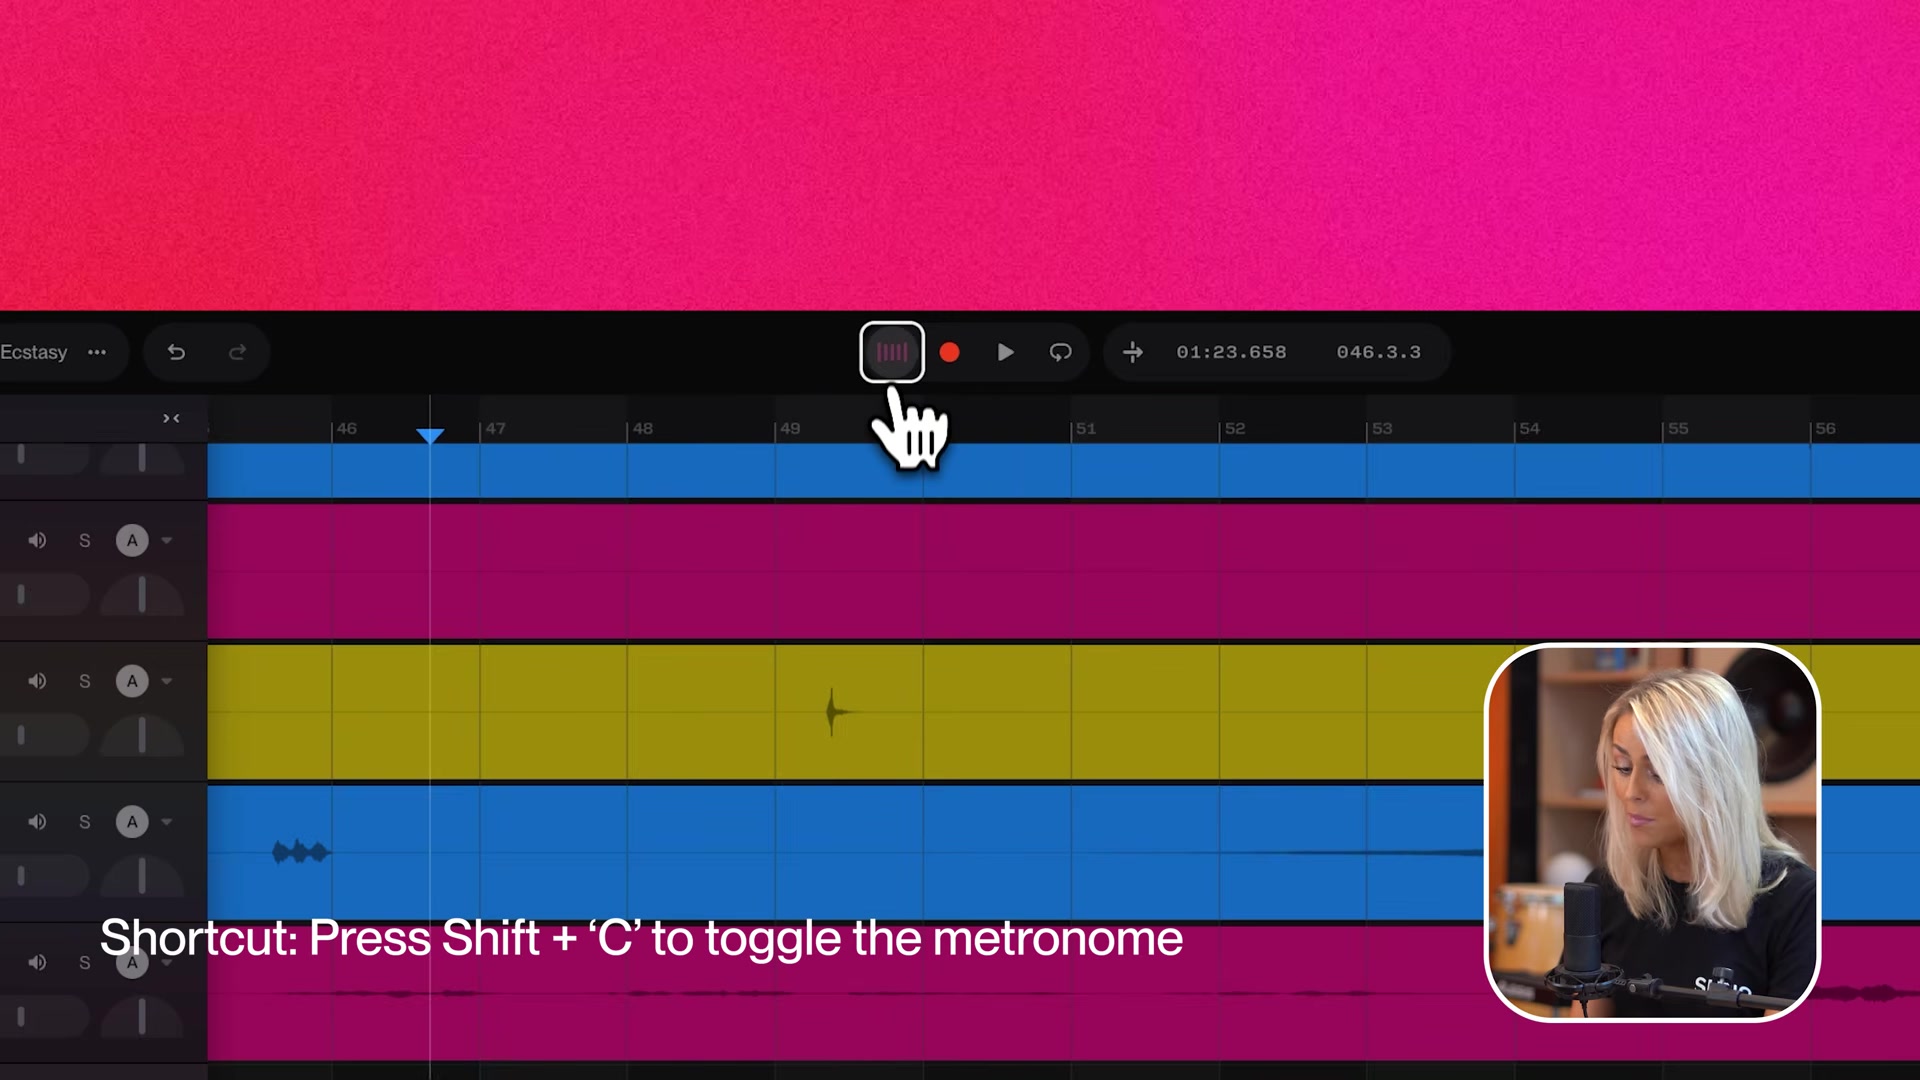
- Press Shift+C to enable the metronome, the click track that keeps you in tempo.
- Choose count-in: 1, 2 or 4 bars of click before recording starts.
- Overdubbing into an existing arrangement? Pre-roll rolls the playhead back 1, 2 or 4 bars, so you hear the song approach your entry point. Count-in for new parts, pre-roll for punching into existing ones.
Step 5: Record your first take
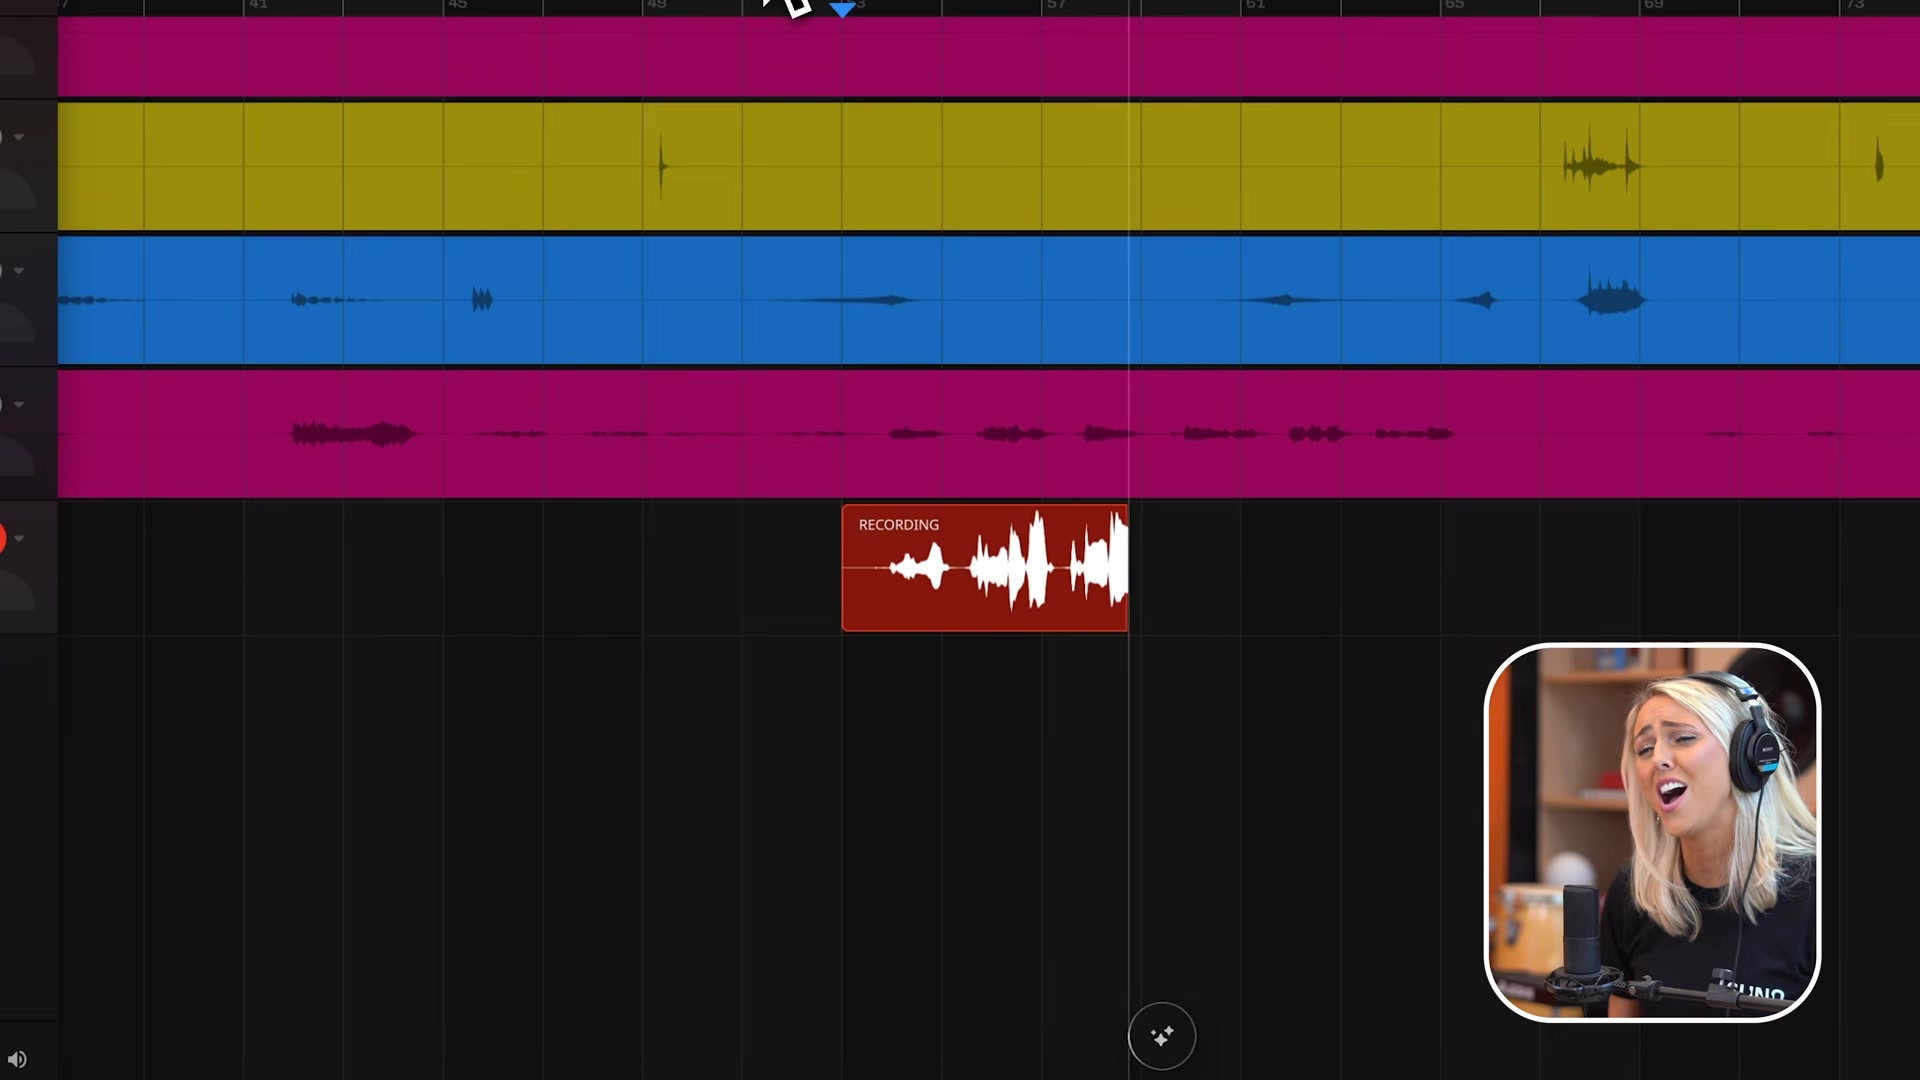
- Press Shift+R. After the count-in, sing.
- Studio records up to 2 input sources at the same time, so a mic and a guitar interface can go down in one pass on separate tracks.
- Press stop, listen back, and resist the urge to delete take 1. Comping needs options.
Step 6: Record more takes and comp the best parts
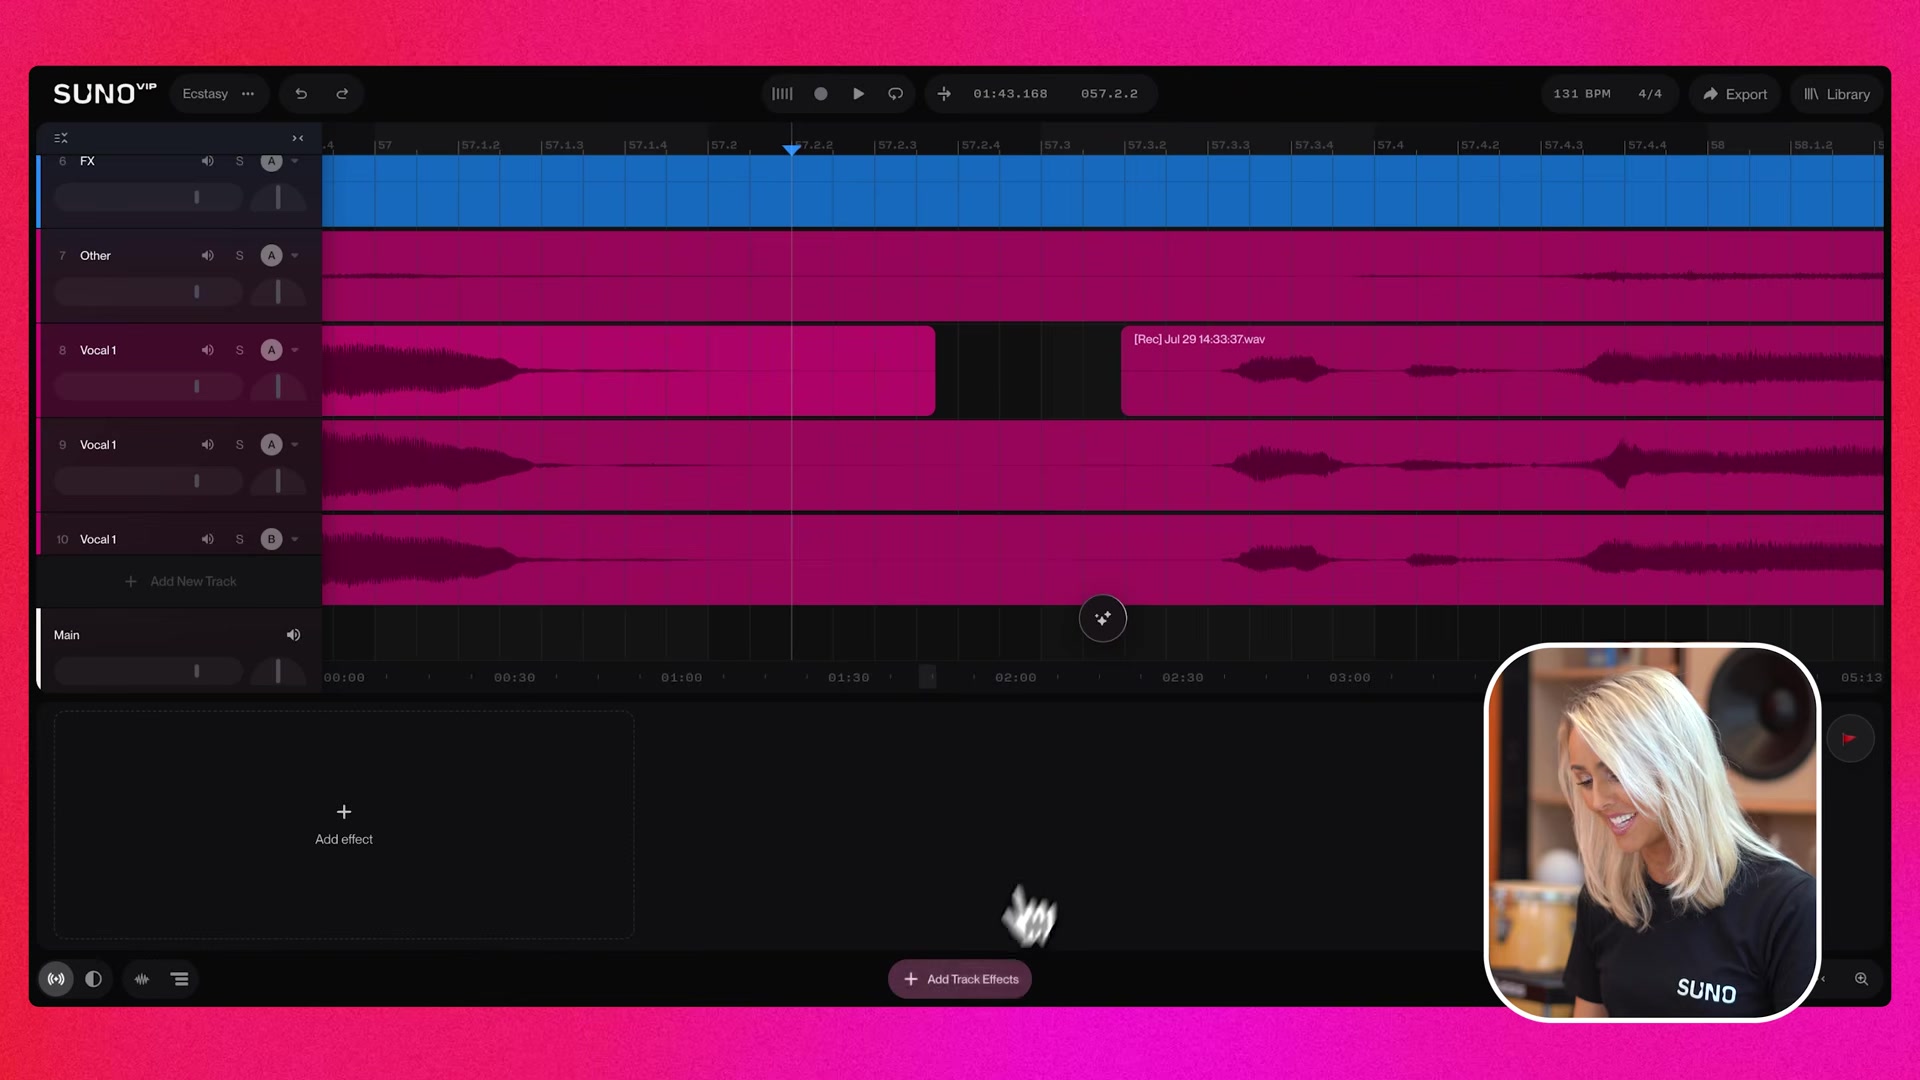
- Record the same section a few more times. Studio stacks the passes as take lanes.
- Open the take lanes at the bottom of the clip and cycle through them.
- Pick the best phrase from each pass and commit. Vocal comping, the studio technique behind almost every professional lead vocal, works the same here as in a big DAW.
Step 7: Smooth the joins with clip fades
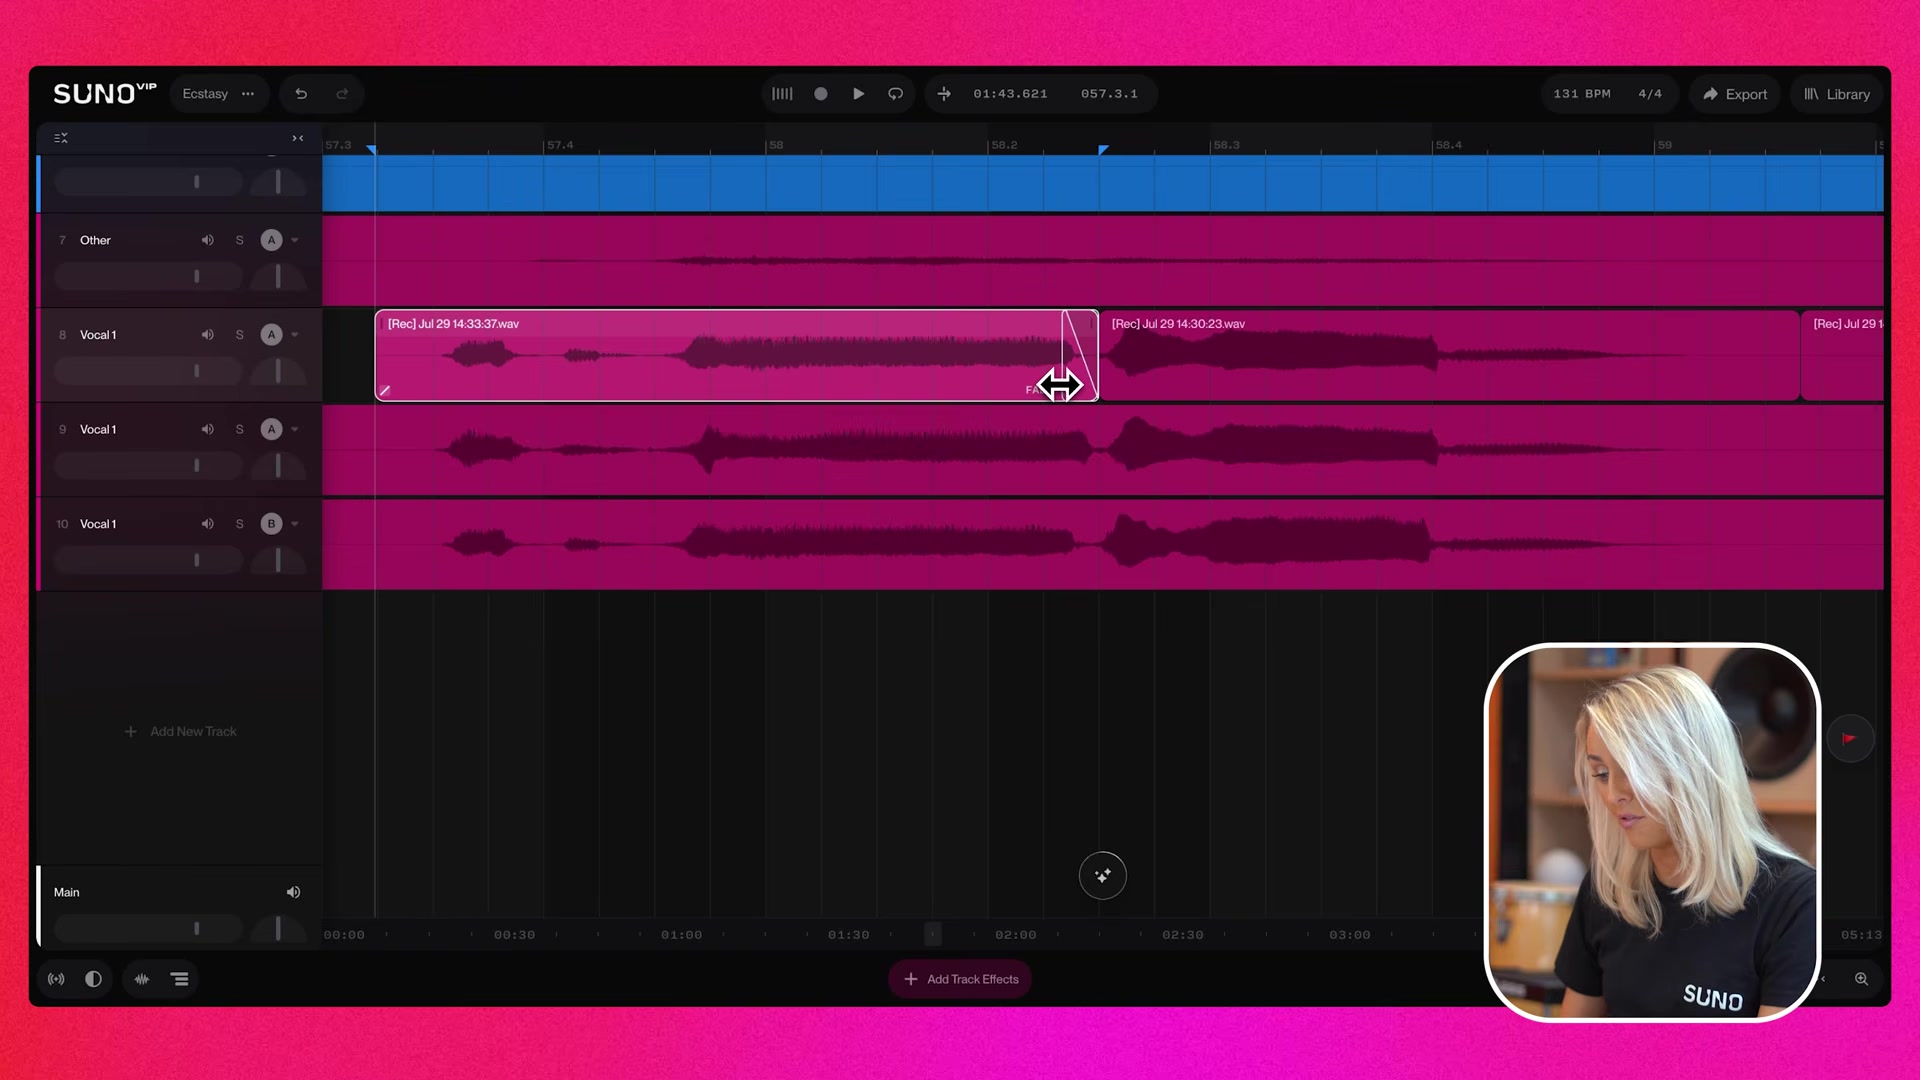
- Select a clip and press Shift+F, or drag the fade icon at its corner.
- For several edits at once, select the range and press Ctrl+F.
Step 8: Transform the take with the chat bar
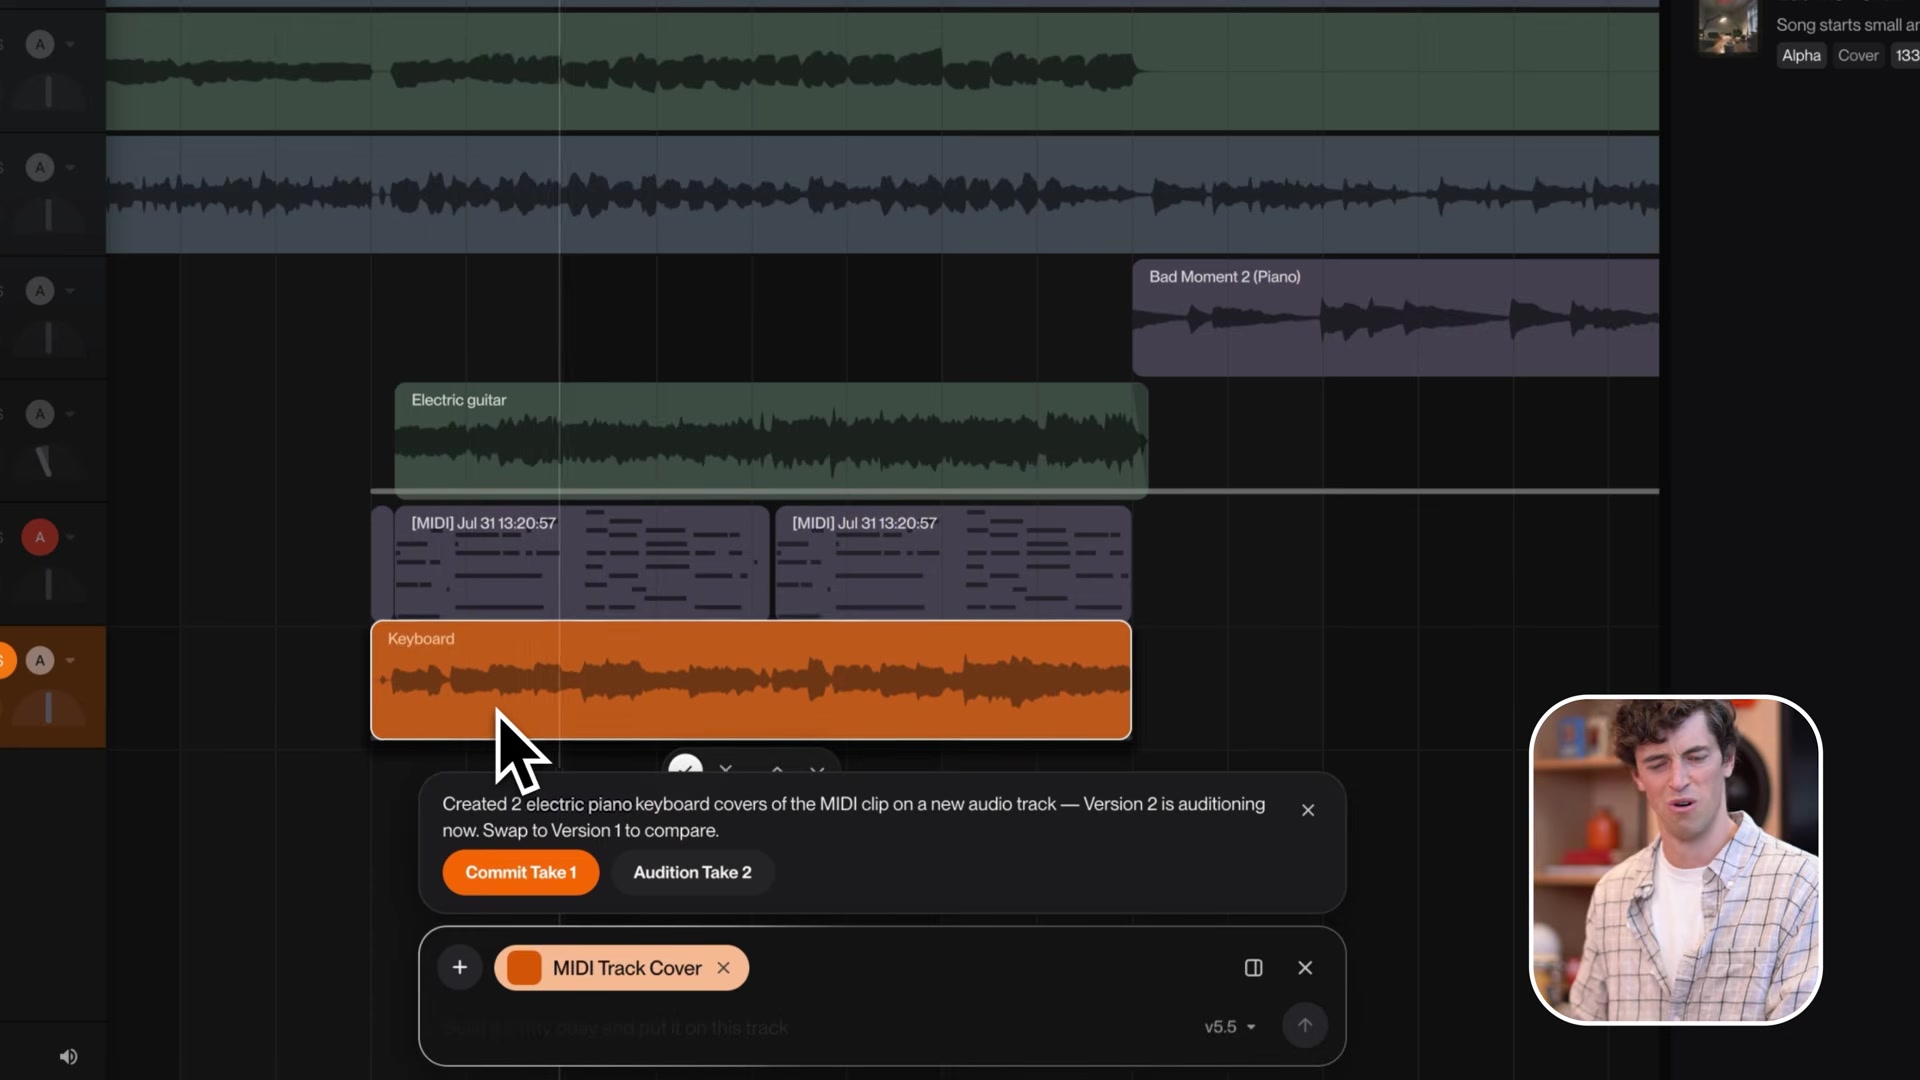
This is the step no other DAW has. Open the chat bar and ask Studio to cover the vocal in place: keep the lyrics and melody, generate a new lead vocal on top. The shaky pitch goes, your phrasing stays. Or push further and turn the voice into another instrument entirely, the way Audrey turns hers into a violin. For more vocal-model options, my Suno v5.5 Voices tutorial covers the persona side.
What common recording mistakes trip people up in Suno Studio, and how do you fix them?
Four mistakes cover most bad takes:
- Skipping latency calibration. Every take lands early. Fix: calibrate before the first take, and recalibrate when you change mics.
- Recording over speakers. The mic captures the backing track along with your voice. Fix: wired headphones.
- Wireless headphones. Bluetooth adds its own delay on top of what calibration measured. Fix: wired only while recording.
- Background noise in the take. Fan, room hum, street. Fix: add the noise gate from Studio’s effects before you re-record, and get the mic closer to your mouth. My Suno Studio mixing guide covers the gate settings.
How do you get the best results recording into Suno Studio?
Five habits, in order of payoff:
- Calibrate latency first, every session. It is 10 seconds against a session of off-grid takes.
- Record 3 takes minimum before judging any of them. Comping beats re-singing.
- Stay closer to the mic than feels natural. Distance is where rooms sound bad.
- Sing the idea even when the voice is not there. The chat bar cover keeps phrasing and replaces tone.
- Know the current limit: Studio has no pitch correction plugin yet. Henry Phipps: “we have our fingers crossed that at some point we have some pitch correction that comes into Studio 2.” Until then, the cover workflow is the tuning tool.
Can you record a whole song in Suno Studio without a studio?
Yes, within honest limits. Two simultaneous inputs, take lanes, calibration and fades cover a solo artist’s entire vocal workflow, and the chat bar covers the polish a home room cannot provide. What you give up against a treated studio: no pitch correction plugin, no multichannel drum recording, and your room is still your room. The move is to treat Studio as the sketchpad with a finishing engine attached. Record the idea today, tap the desk for the rhythm, and let the model dress it. The excuse pile is smaller than it has ever been.
Frequently asked questions
How do you comp vocal takes in Suno Studio?
Record several passes over the same section and Suno Studio stacks them as take lanes, opened at the bottom of the clip. Play through the takes, pick the best phrase from each, and commit the choices. The result is one composite vocal on the track, and you smooth the joins with clip fades.
Why do my Suno Studio recordings land early on the timeline?
You skipped latency calibration. Every mic and interface adds a delay, and without measuring it, Studio places takes earlier than you sang them. Open the dropdown under the record button, click calibrate, and let Studio measure the click round trip before recording.
How many audio inputs can Suno Studio record at once?
Two. Suno Studio supports 2 simultaneous input sources, so you can record a mic and a guitar interface in one pass, each to its own track. For a full band you still need a conventional DAW with a multichannel interface.
Does Suno Studio have pitch correction?
No, not yet. Henry Phipps says in Suno's own walkthrough that there is no tuning plugin in Studio yet and he expects one to come. The current workaround is the chat bar, which covers a shaky take with a newly generated vocal that keeps your lyrics and melody.
Do you need an audio interface to record in Suno Studio?
No. Suno Studio records from any input the browser sees, including a laptop's built-in mic or a USB microphone. An audio interface still helps, since it gives you a cleaner signal, proper gain control and an input for instruments.
About the author

Covering AI music tools, industry shifts, and news for music creators and professionals. Twice-weekly newsletter at aimusicpreneur.com.